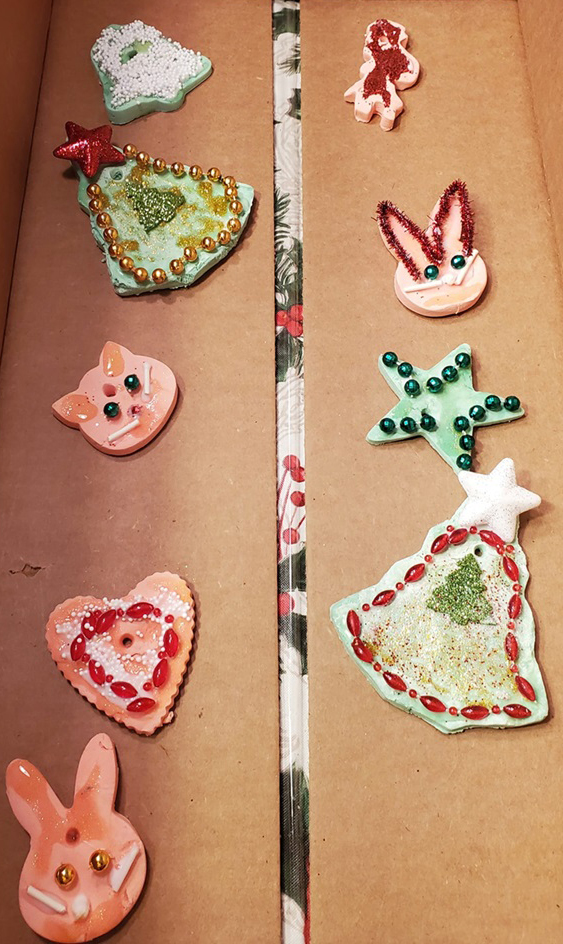
Nothing like the salt dough this looks so much better!
Hardens perfectly drying or baking. The kids will love this! If you're creative, the sky's the limit on what you can mold, shape, and create.
Paint them, leave them plain, and color the dough.
Add a clear coating to preserve them and voila, you have some pretty cute memories to make with your kids or favorite art-loving family and friends.
Making Memories
I can't begin to tell you the ease of this recipe and the fun memories we made together.
This clay dough is the best to work with for any projects with the kids
Ingredients for making Clay Dough
- water
- cornstarch
- baking soda
- food coloring
- watercolor paints, glitter, and see below for more ideas
Tools
- Christmas Cookie Cutters
- Birthday Cookie Cutters
- Easter Cookie Cutters
- Small saucepan
- Spoon for stirring
- Cutting board
- Wax paper for kneading colors
Decorating Idea to Use
- glitter
- buttons
- strips of cloth
- paint
- glue
- small beads
- colored paper
- glitter glues in colors
Tips
- knead the clay with food coloring while slightly warm
- keep the clay covered with wet paper towels or wet cloth towels
- make sure the clay ornaments are completely cooled before painting and decorating
- store them in a covered cool dry place when storing them
- make sure you bake them until completely dry and hard
- these are not meant to be AIR DRIED
- school glue and assorted glitters make nice ornaments for Christmas
Cook this in a Non-Stick Pan
Using a non-stick pan is the key to making this come together easily and with no mess.
I love the ease of this dough, and it doesn't take a lot of effort to mix.
Silipat mats or parchment paper make these easier to bake on and remove later.
There's Nothing to It!
Just a few pantry ingredients and you're on your way to making some fun creative projects.
My nieces used to love to make jewelry.
Just roll them into balls, stick toothpicks in the center, and bake them.
Paint and use a thin elastic string found in any craft store for bracelet making and necklaces.
Stir Until Smooth
Once you get it in the pan, just mix it until it forms a nice smooth dough.
You can then add colors.
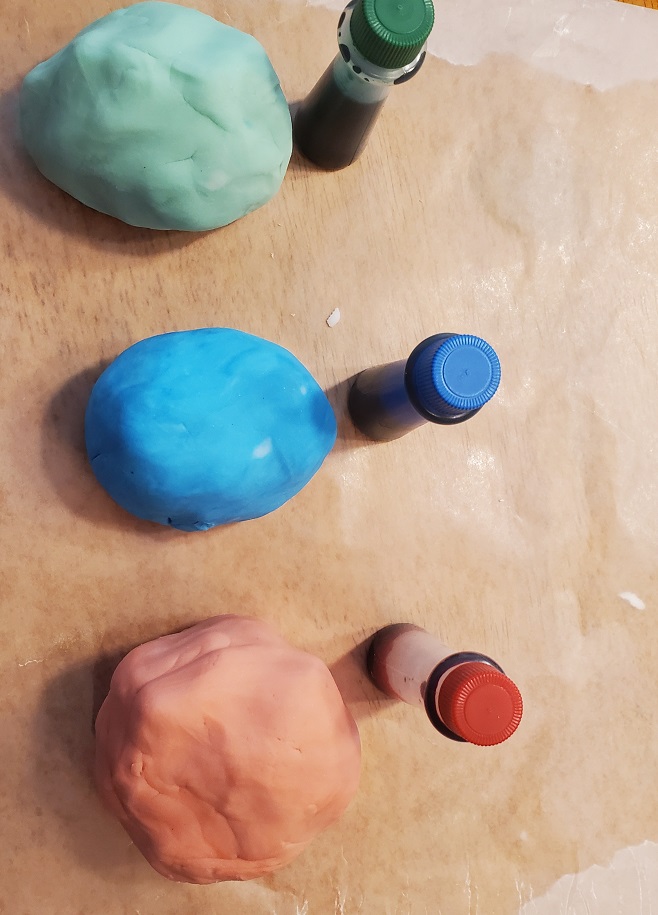
Separate It and Add Colors
I make two batches of this dough.
After the dough is made I separate it into two balls and add coloring to each ball.
More Tips
Use A Straw to make the holes
If you want to make a lot of ornaments or colors you will need to make two batches of this dough recipe.
Regular food coloring works fine or you can use cake-decorating color pastes.
Store in zip-lock bags if using over and over and not baking or drying it.
Use All Kinds Of Cookie Cutters
Over the years I have collected many many cookie cutters.
Every Holiday I have made clay ornaments to hang on my small green trees outside on my porch.
They really decorate the trees nicely.
Other Holidays
You can make hearts for Valentine's Day, Shamrocks for St Patrick's Day and even Red White and Blue Stars for Patriotic Holidays.
You might remember my Holiday Tea Sandwiches I make with my collection of cutters below.
Another Fun Project for the kids to do!
Other Ideas
- Mold this clay into animal shapes
- Mold the dough into cars and trucks
- Mold this dough into stick people
- Place the dough onto a wooden board after you back the scene for a wall plaque
- Make round balls with a toothpick in the center and bake it for jewelry and string it.
- Paint them or leave them plain.
- Clear coating spray will preserve them.
Pin for later

Best Clay Dough Ornaments
Yield: 24
This is a smooth clay dough to create animals, ornaments, mold anything you like. The dough is easy to make and works great with cookie cutters. Bake use for holidays or just playtime for the kids.
ingredients:
- 3/4 cup water
- 1/2 cup cornstarch
- 1 cup baking soda
- Food coloring
- paring knife
- cookie cutters any shapes for animals, holiday etc.
- parchment paper
- baking sheet
- small round straws
- Optional: fancy ribbon to match the theme for hanging, paints and paintbrushes, glitter glue, buttons, hot glue gun. (Found at craft stores)
instructions:
How to cook Best Clay Dough Ornaments
- Preheat oven to 175 degrees.
- Place water, cornstarch and baking soda in a small saucepan. Boil until dough forms it gets thick fast! About 1 minute stirring until it holds together.
- Remove from heat place on a kneading board, cool a few minutes until easy for you to handle.
- Keep it covered with a wet towel. If too sticky add more cornstarch starts to dry out add water to your hands.
- Separate into two balls while still warm, if using the colored dough. You can leave this white and paint them later. Add food coloring of choice and knead into each ball.
- We made some for pumpkins with red and yellow food coloring added to the dough, then the other ball is green for Christmas trees.
- Roll out the dough, cut into shapes, score with lines with a paring knife on the pumpkin. Make a hole with a straw for hanging the ornaments later.
- Bake at 175-degree oven for around an hour or until all the wet spots on the piece you bake is gone.
- Cool completely then place pretty ribbon in the hole for hanging. Have fun, get creative.
- Paint them after they are cooled. Use your imagination. Use a clear coat spray to preserve the dough.
- Make some memories that last a lifetime! Enjoy!!


